this allows you to accurately map textures to the geometry of the shape. This gives a far more realistic look to the object and avoids stretching and clipping of an applied texture from bit maps alone.
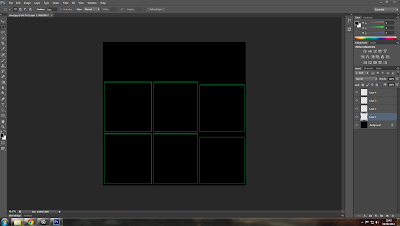
the process for doing this in 3Dsmax is to first make the object you desire to texture, it is simpler to do with less faces and less geometry if posible, then in the modifier list chose UVW unwrap - open the UVW editor - select all of the geometry by face - it should now apear in the UVW editor screen - if the geometry is stacked then select the mapping menu - flatten and press ok - then tools - render UVW template - save the image as and import in to photo shop to start the texture mapping.
after importing the box texture into photoshop and matching it up with the green lines of the UV map the new image can be saved and reopened in 3Dsmax as a texture ready to apply to the object.
the UV map can be imported as a bitmap on the diffuse map,
This is the first render of the cube, as you can see the faces are aligned well dispite this model being slightly cuboid. it gives the model an aesthetic and characteristics that canot be achieved through modelling.
I then subdivided the cube and sculpted the geometry slightly to make the box look more beaten up and texturised on the model, and to see how well the UV texture adapted to the new geometry.
This is the final render of the edited cube with some signs of damage and possible hints of battle. the uv texture held up well to the manipulation though altering the geometry alot causes stretching and pixilation, this can work in some cases but not in others.


No comments:
Post a Comment